Assembly

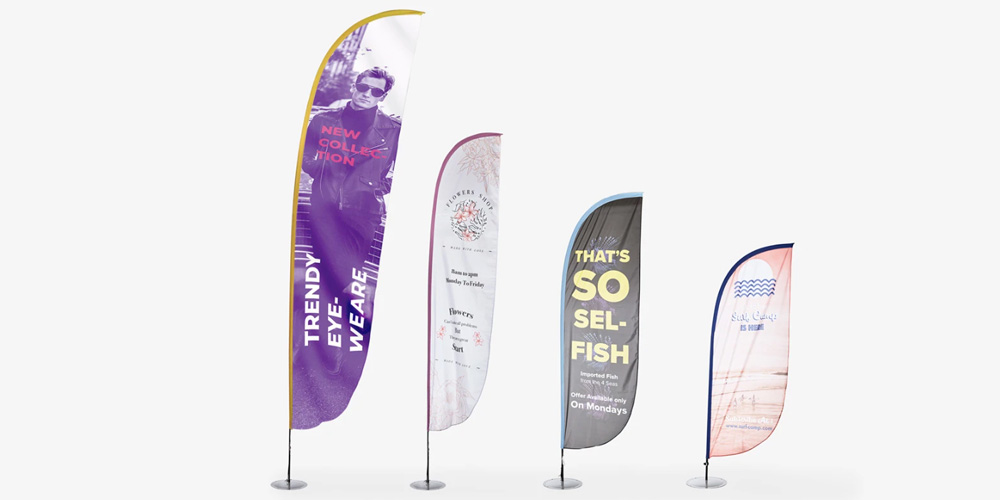
Putting together your Feather Flag is a quick and simple process.
To begin, unpack the poles and construct the flagpole by connecting the separate pole pieces in descending order from largest to smallest. Insert one end of the poles into the other and firmly press them together.
After assembling the pole, it’s time to attach the Feather Flag. Start by placing the top of the pole (the smallest section) into the bottom rod pocket of the banner, and slide the pole all the way through the rod pocket until it reaches the end. The end of the rod pocket is reinforced, and it’s crucial to keep the tip of the pole within this section to avoid damaging your banner.
Now, pull the banner down the pole while simultaneously pushing the pole into the banner. As you continue, you’ll notice the top of the pole bending to form the full “feather” shape until the banner can’t go any further.
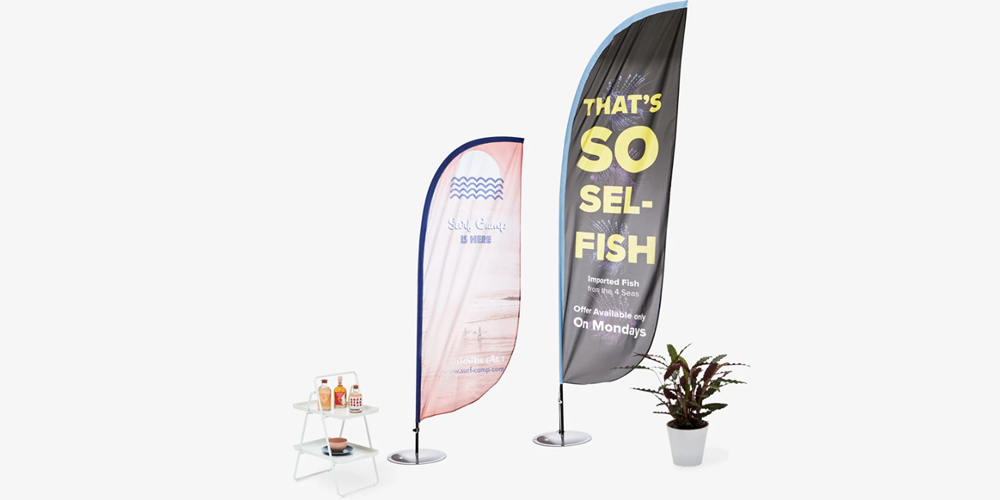
Once you’ve positioned the flag base correctly, insert the bottom of the pole into the spindle on the base. Your Feather Flag is now fully assembled and ready to be used.

Maintenance

Your Feather Flag will be delivered to you neatly folded and may have some creases upon arrival. These creases will eventually disappear when the flag is used outdoors. However, if you wish to remove them quickly, a steamer is the most efficient method. Alternatively, you can use a warm iron with an ironing cloth placed between the banner and the iron.
In case your Feather Flag becomes dirty, you can clean it using a damp cloth with cold water. If required, you can also wash it in a washing machine using a gentle cycle with cold water and no detergents or bleach.
Although the Feather Flag is built to last and withstand outdoor use, we advise against using it during severe weather conditions to avoid any potential damage.